Quick Start
Un-Boxing
Shiping List
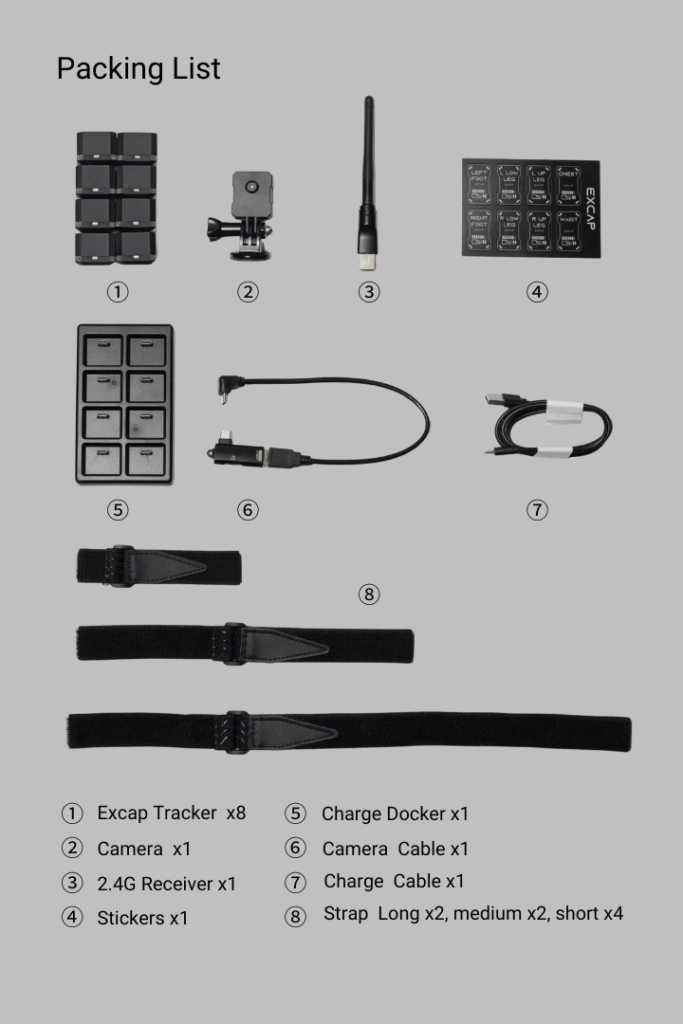
Open the package and verify the quantity of products received. It should be as followed:
Excap Studio Install
Link:Downloads – Elecholic
Download and install Excap studio.exe.
Driver Install
Download and install CH340.exe. Even if you have installed it before, please download and install this version to avoid compatibility issues caused by the old driver.
The First Use
Step 1: double-click to launch Excap Studio.
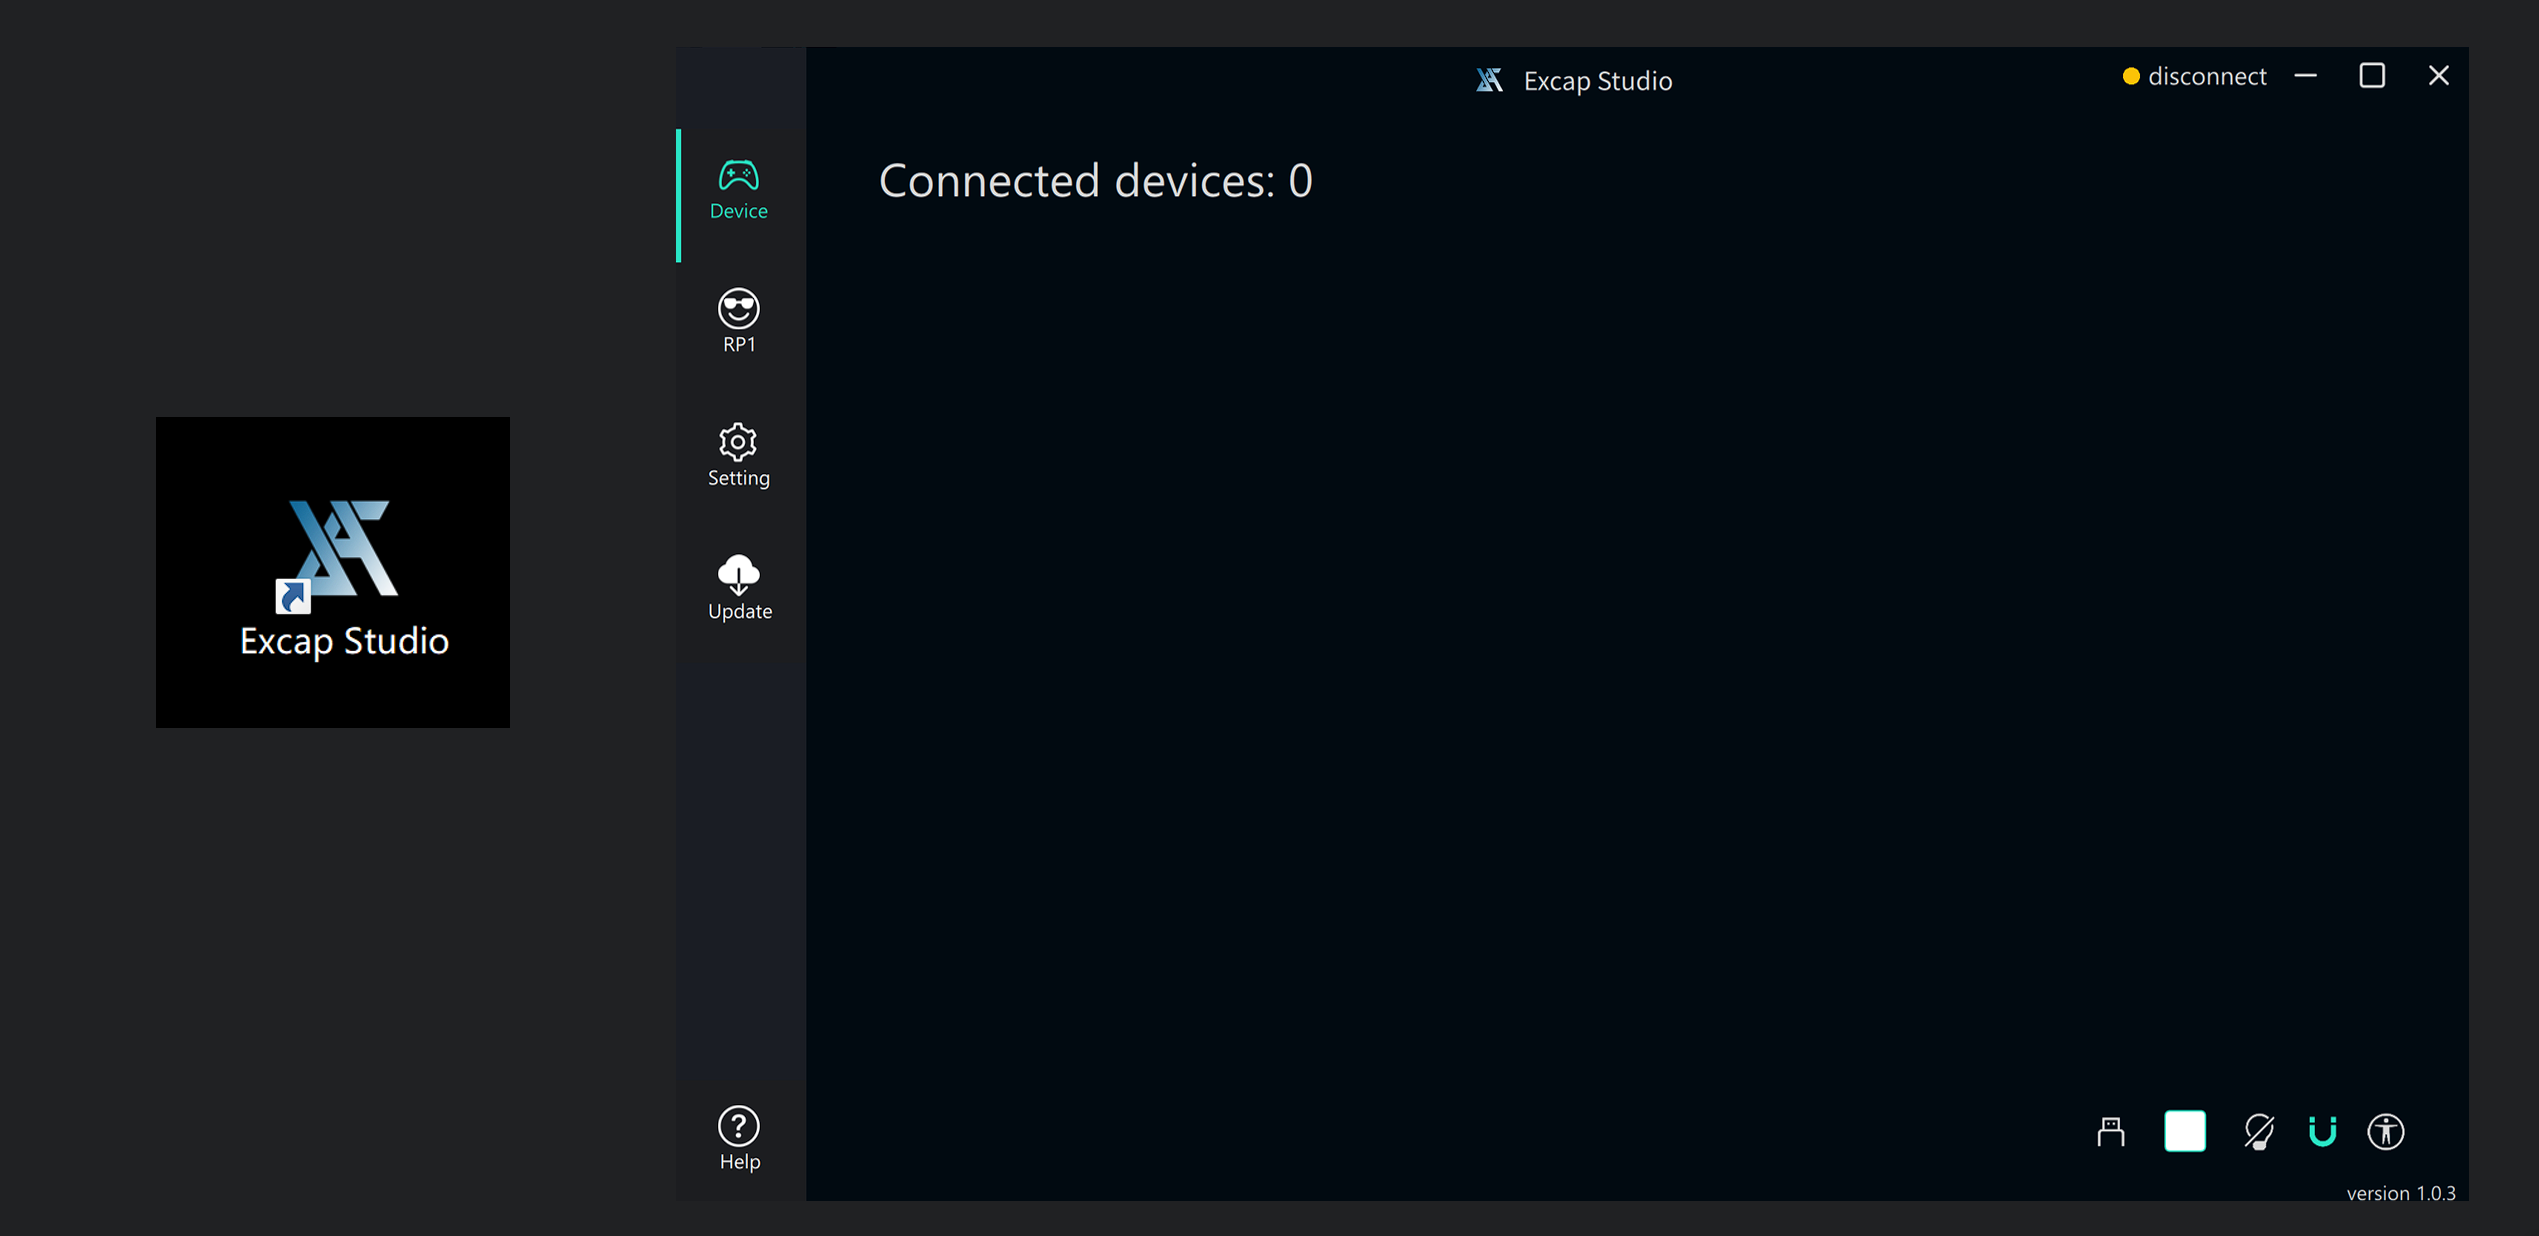
Excap Studio will automatically check if your PC have installed SteamVR driver and Excap Link USB dongle driver. If not it will install them automatically.
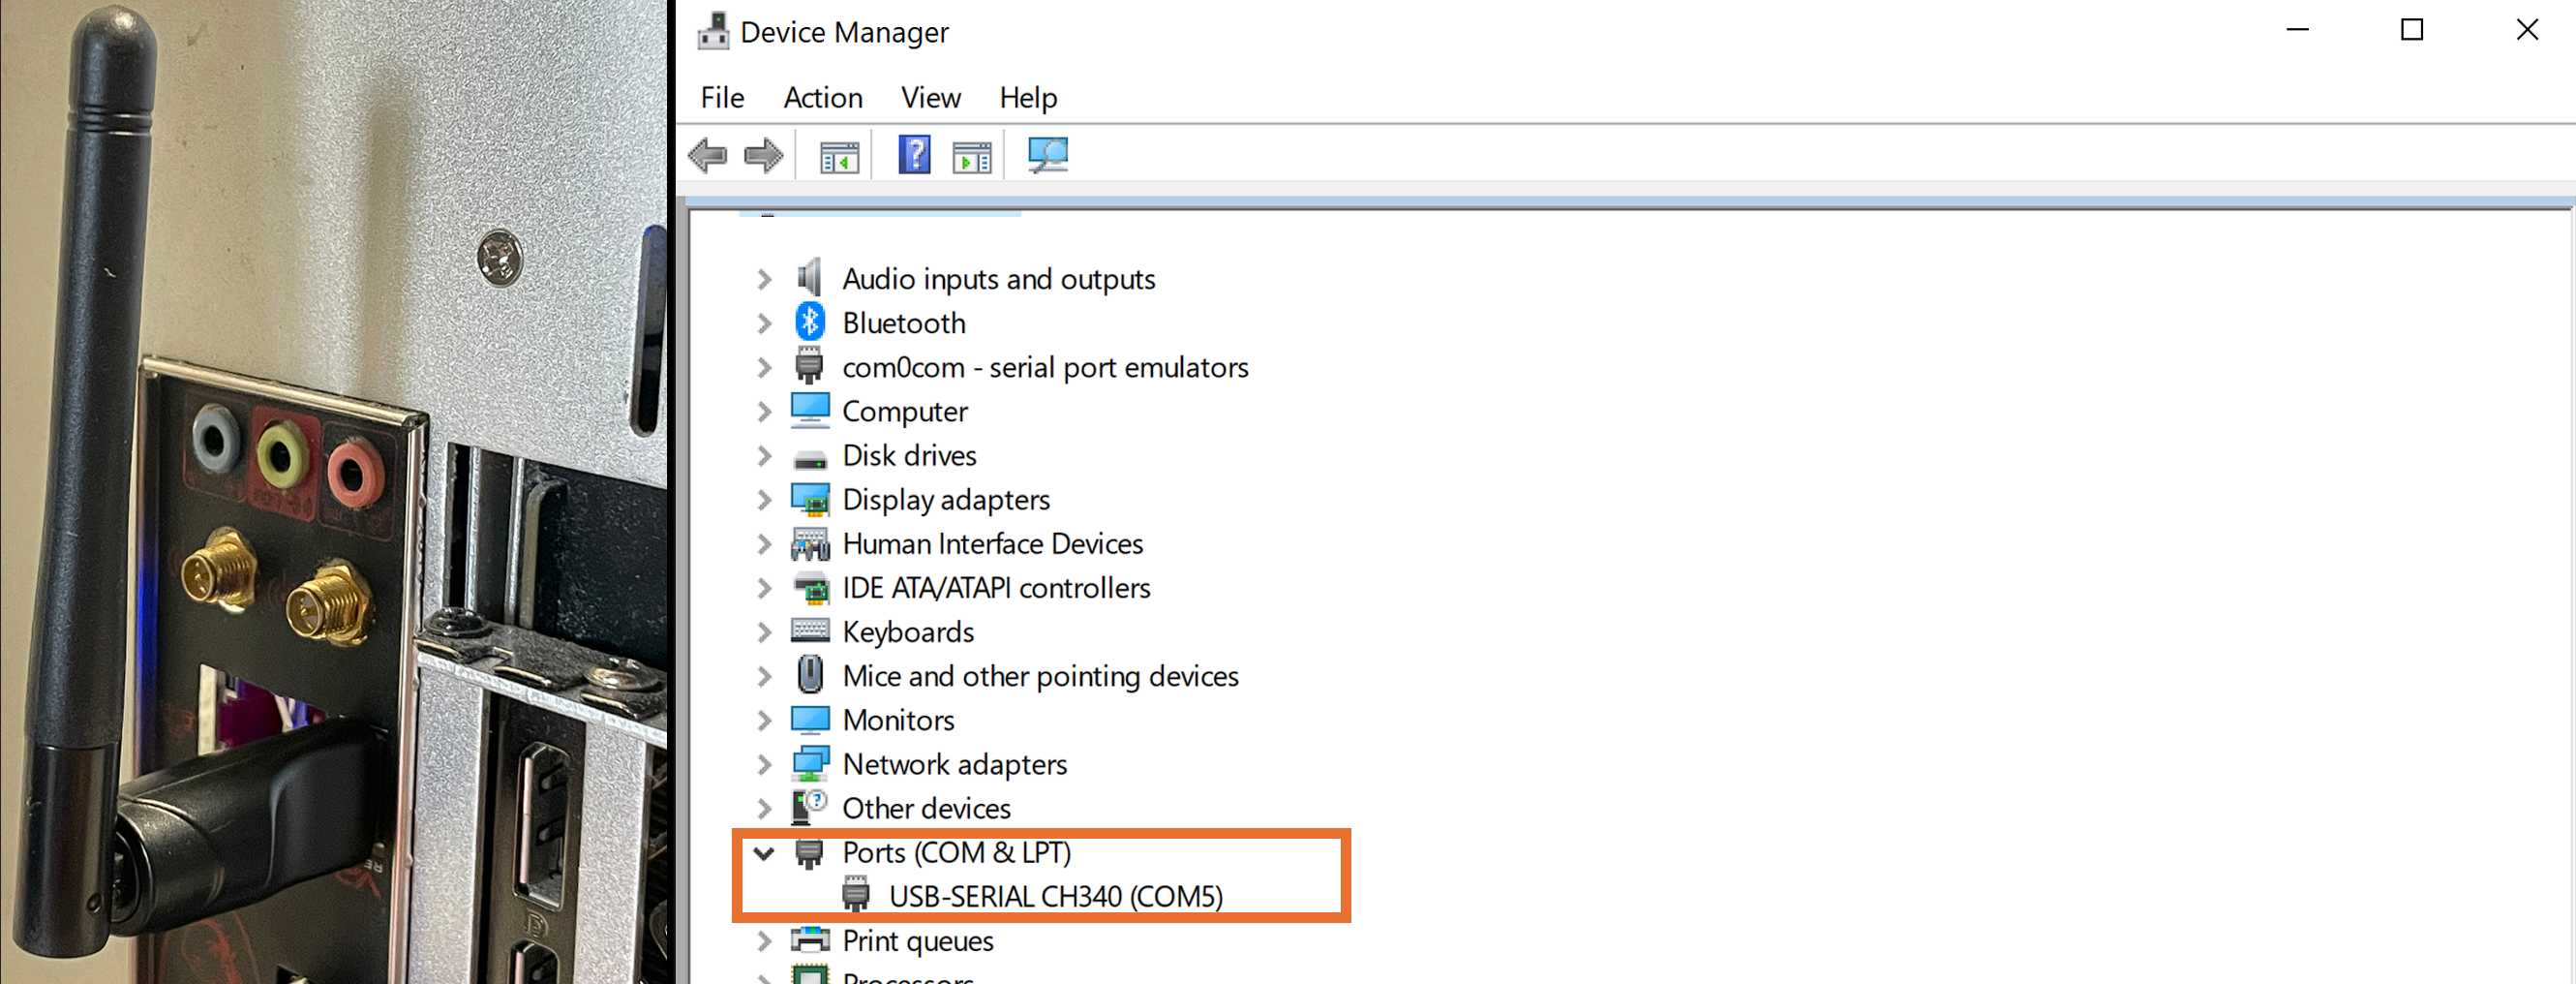
Connect the USB Dongle to the PC
Connect the accompanying USB dongle to your PC host and check the device connection information. If this information is missing, please install the CH340 driver manually.
Tipp: You can turn off all trackers by simply unplugging the receiver.
Step 2: Press the button on each of the 8 Excap trackers; if the RGB lights illuminate, the power is on successfully.
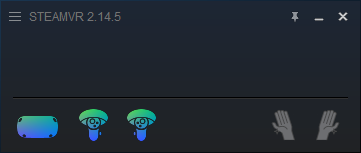
Step 3: Check the Excap Studio interface until all 8 trackers are successfully registered
Step 4: Shake or tap the tracker and check if the device list in Excap Studio highlights.
Label your tracker
For quick identification and wearing of each tracker, Excap provides stickers with positions. Each tracker is assigned a default pairing position upon first startup.
By clicking on the device card in Excap, you can attach the sticker to the corresponding tracker’s casing.
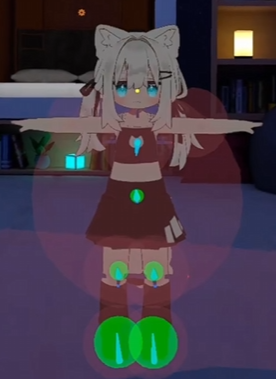
Installation and Wearing
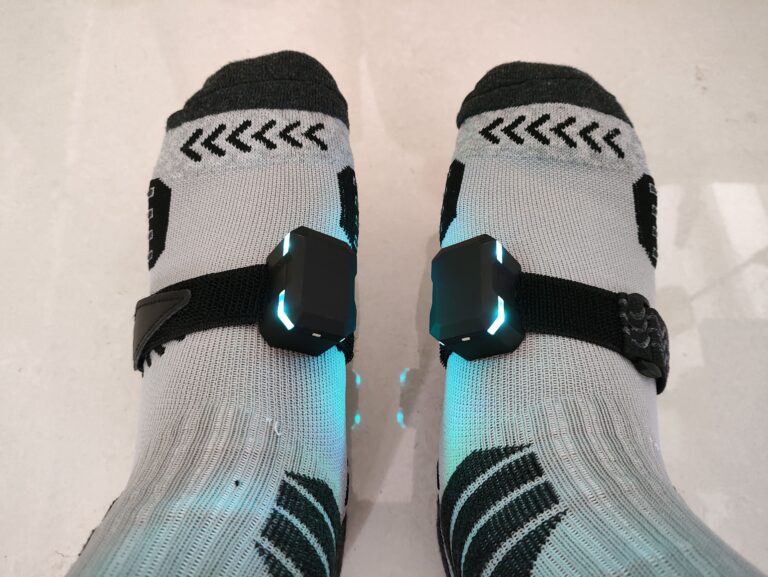
Install the strap into the tracker; the wearing position is shown in the figure above.
- The tracker’s switch must be facing up.
- The tracker should be in front of your body.
- Make sure the tracker doesn’t slide on you as much as possible.
- 6/8 points mode are both supported, foots trackers are optional, if you do not need to move your ankles.
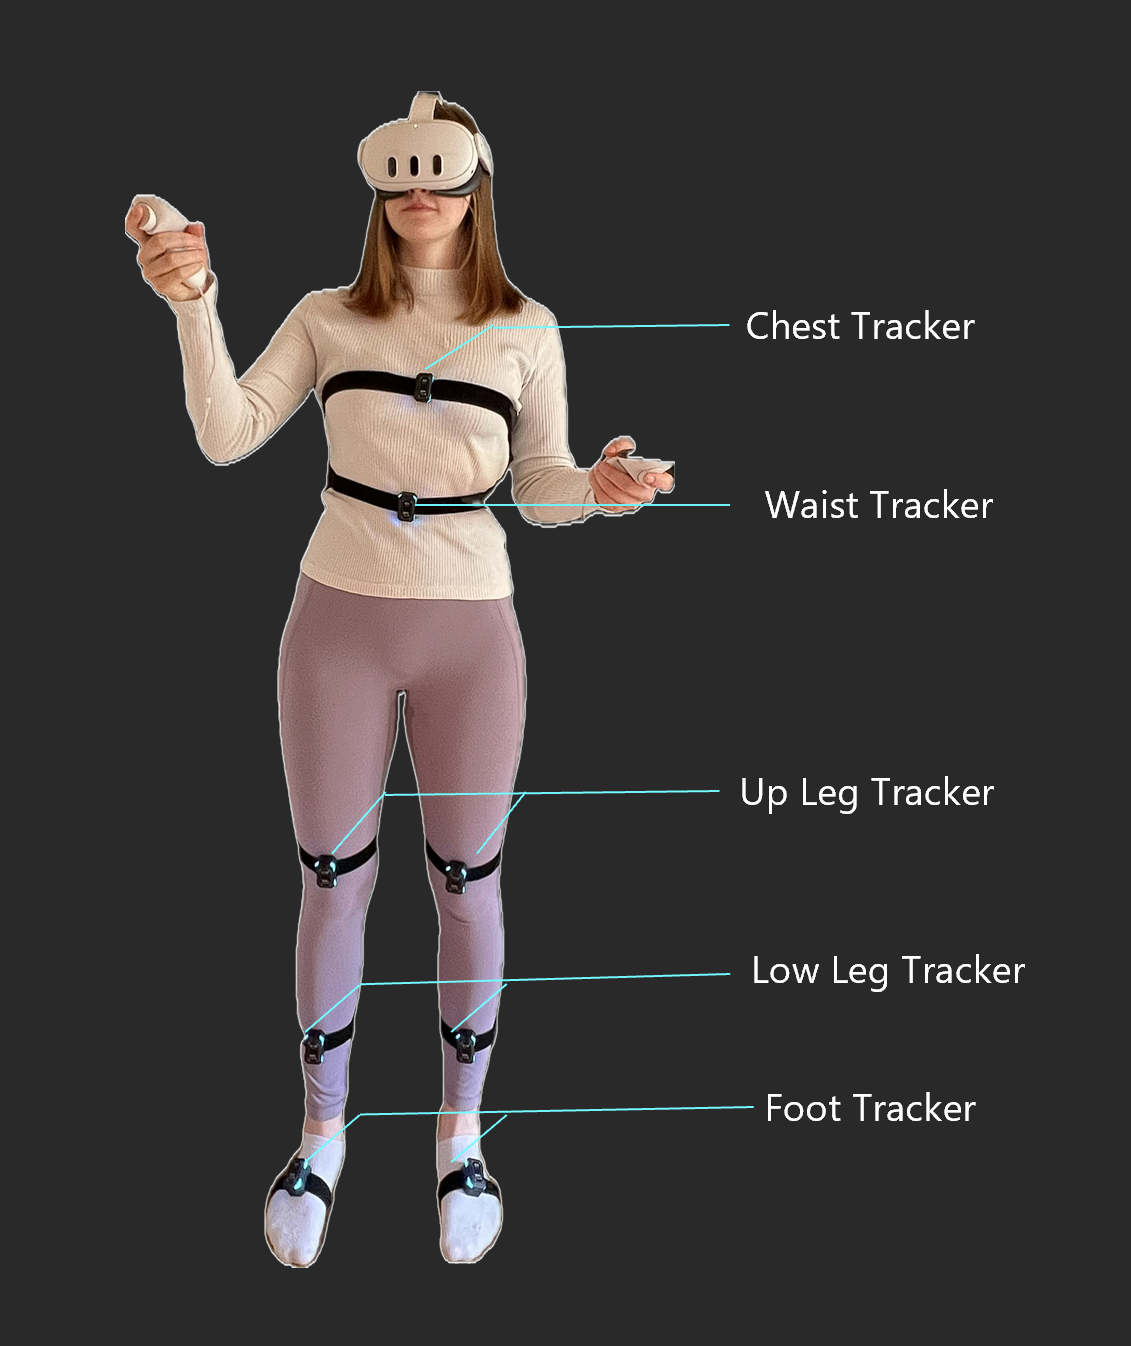
It is recommended that you try using the 6 point tracker first. Foot trackers are mounted about a quarter of the way down the inside of the foots.
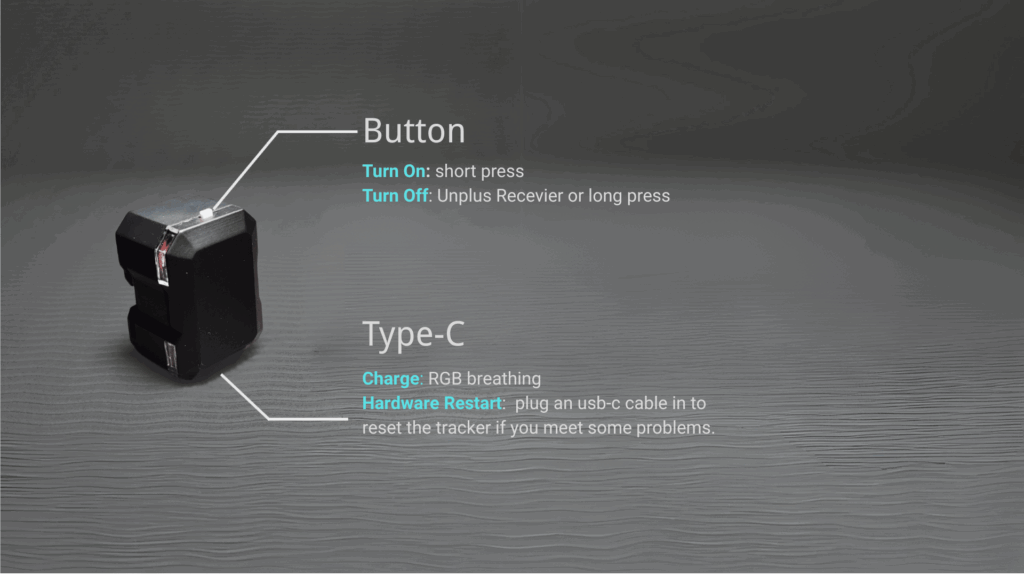
Basic Operation
Turn On: short press
Turn Off: press for 1 second and release / Unplug the USB dongle
Charging: RGB Breath
Full-Charged: RGB go out
Tips:
1. Long press for 5 seconds and the tracker will enter pairing mode. Be aware of this and avoid accidental triggering.
2. Plug the USB-C cable in and unplug it. It can reset the tracker if you meet some problems.
Full Body Calibration
Due to variations in wearing positions, axis calibration is needed before each use.
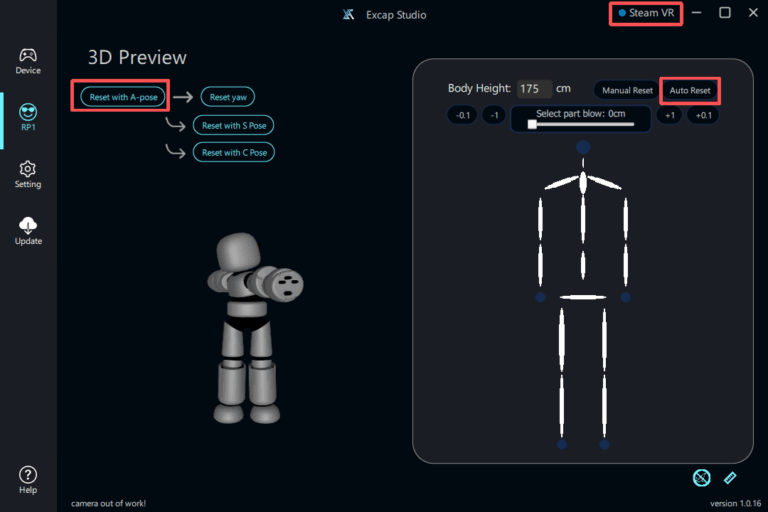
- Choose “SteamVR” on Excap-Studio Top right corner. Make sure your headset have streamed to SteamVR before. If you are using Standalone VRChat, please click “Standalone”.
2. Click “Auto Reset”. It will automatically calculate your height based on the height of the headset and calculate your body proportions. You can also enter your actual height via the keyboard and then click on “Manual Reset“.
3.Do with A-pose Calibration: Head and body ahead, stand up straight, feet a fist’s width apart. There are 2 ways to trig it.
- Press the button shortly on the Chest tracker. (less than 1 second, or the tracker may be turned off)
- Click the “Reset with A-Pose” button on the Excap-Studio.
4. Do FBT Calibration in VRChat.
Press the Y button on the left handle controller and click Calibrate button on the Menu.
Press the trigger buttons of both the left and right controller simultaneously.
5. Enjoy your FBT in VRChat
Congratulations!
You have completed all the startup preparations.
Next chapter: “How to Connect and Transmit Motion Capture through Steam VR and Slime VR.”
Tips
Turn on the tracker and place it on a flat for 1min. It will reduce drift of IMU.
- Before using the magnetometer, please calibrate the magnetometer of each tracker.